Recipe: Easy snack for game days or binge-watching, too

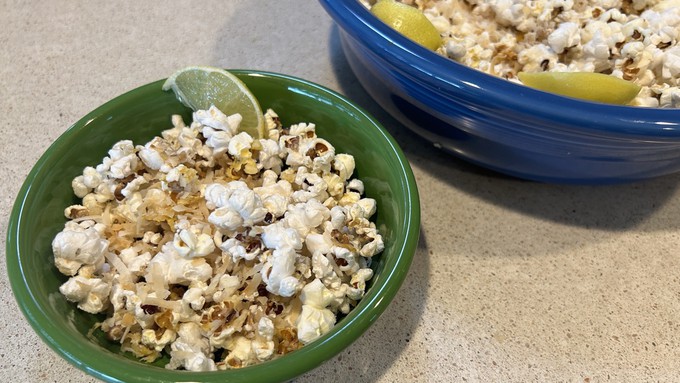
Served with lime slices, this toasted coconut-lime popcorn makes a great appetizer with your favorite beverage. Kathy Morrison
I feel as if I've been cooking and baking nonstop the past few weeks. So for a New Year's appetizer, I wanted something quick and uncomplicated -- and preferably somewhat healthy.

Also, I still have so many ripe limes, and hoped to use at least a few more just-picked ones before I juice and freeze the rest.
The solution to these desires turned out to be an old favorite: Popcorn, but dressed up a bit. After all, it's a whole grain, gluten-free, and low in calories.
This is popcorn essentially made the old-fashioned way: In a covered pot with hot oil. But I borrowed a technique from the New York Times, popping it in a wok (or wok-shaped pan, in my case). Any large (4 quarts or more) pot with a lid will work, however. Use a stock pot to double this for a crowd.
Do look for a gourmet popcorn if you can. The flavor tends to be nuttier, though the pops may not be as fluffy as microwave popcorn.
My preferred version is the savory one, with some tartness from the lime, but if you like your popcorn sweeter, I've included an option using brown sugar that still is nowhere near as cloying as caramel corn.
Warming the popped popcorn on a sheet pan in a 300-degree oven is a revelation -- it dries any bits made too soggy by the butter. And use the sheet pan to re-warm the snack if there are (unlikely) leftovers.
Toasted-coconut lime popcorn
Makes about 6 cups
Ingredients:
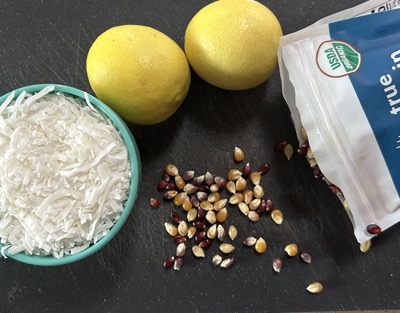
1 cup flaked unsweetened coconut
2 limes, one to be zested and juiced, the other reserved for garnish
2 tablespoons coconut oil
1/2 cup popcorn kernels
1-1/2 tablespoons butter, either unsalted or salted
1 teaspoon kosher or coarse salt, or to taste
Optional: 1-1/2 tablespoons brown sugar plus an additional 1 tablespoon butter

Instructions:
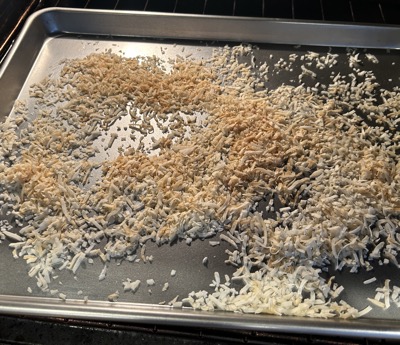
Heat oven to 300 degrees. Spread coconut flakes in a thin layer on a sheet pan. Toast the coconut 6 to 8 minutes, watching carefully that it doesn't get too brown. Remove from oven to cool briefly, then scrape the coconut into a bowl. But keep the sheet pan handy -- no need to clean it yet. Also, keep the oven at 300 degrees.
Zest one lime, then juice it; set the zest and juice at ready near the stovetop.
Over medium heat, melt the coconut oil (which is usually solid this time of year) in a wok or any large pot with a tight-fitting lid. When it's melted, add 2 or 3 popcorn kernels and cover but not entirely -- leave the lid cracked a tiny bit.
Meanwhile, melt the 1-1/2 tablespoons butter in a small saucepan. (You can do this in the microwave, but as you'll see shortly, it's best to have the butter warm and right at hand.)
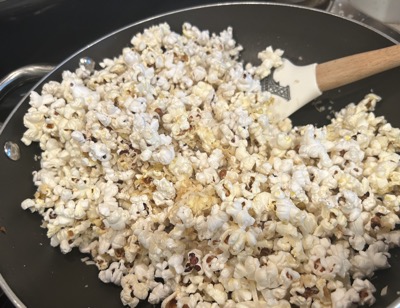
When the kernels have popped, pour in the rest of the popcorn, put the lid on tightly, and shake the pan frequently until the popping has slowed considerably and the pan is full of popped corn. (Lift the pan off the heat and shake vigorously if you start to smell pre-burning popcorn.)
Remove the lid and take the pan off the heat.

Add the lime zest and lime juice to the melted butter over low heat, and stir just enough to blend. Drizzle the mixture over the popcorn, stir briefly, then scatter the toasted coconut and the salt over the popcorn, and stir thoroughly.
Pour all the pot contents back onto the sheet pan, spreading it out in an even layer. Return the sheet pan to the oven for 5 minutes. Remove, taste and adjust seasoning. Serve popcorn warm with slices of the second lime on the side.
Sweeter option: Prepare as above, but when melting the butter, include the additional 1 tablespoon of butter and the 1-1/2 tablespoons brown sugar, blending over low heat until the sugar grains have dissolved. Then add the lime zest and juice, and proceed as above. The popcorn will be just a little sticky.
Comments
0 comments have been posted.Sacramento Digs Gardening to your inbox.
Sites We Like
Garden Checklist for week of July 21
Your garden needs you!
* Keep your vegetable garden watered, mulched and weeded. Water before 8 a.m. to reduce the chance of fungal infection and to conserve moisture.
* Feed vegetable plants bone meal, rock phosphate or other fertilizers high in phosphate to stimulate more blooms and fruiting. (But wait until daily high temperatures drop out of the 100s.)
* Don’t let tomatoes wilt or dry out completely. Give tomatoes a deep watering two to three times a week.
* Harvest vegetables promptly to encourage plants to produce more. Squash especially tends to grow rapidly in hot weather. Keep an eye on zucchini.
* Pinch back chrysanthemums for bushy plants and more flowers in September.
* Remove spent flowers from roses, daylilies and other bloomers as they finish flowering.
* Pinch off blooms from basil so the plant will grow more leaves.
* Cut back lavender after flowering to promote a second bloom.
* It's not too late to add a splash of color. Plant petunias, snapdragons, zinnias and marigolds.
* From seed, plant corn, pumpkins, radishes, winter squash and sunflowers.